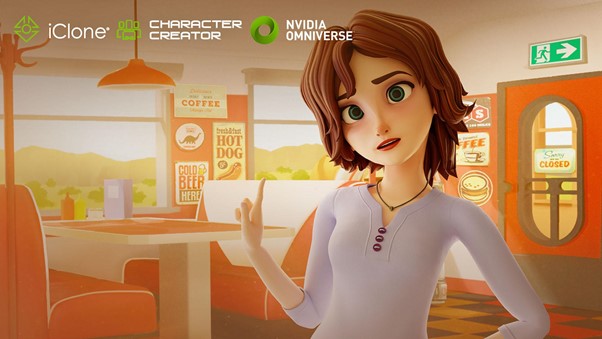
 Combining Omniverse and Reallusion software accelerates the creation of realistic and stylized characters with a library of high-quality character assets and motions.
Character creation and animation are two distinct disciplines that demand the skill of well-trained artists with specialized background knowledge. These domains can be difficult and frustrating for artists who come from unrelated backgrounds with different skill sets, and it’s a pain point that Character Creator and iClone were specifically created to resolve.
Character Creator is well-positioned as the go-to solution for creating realistic and stylized characters with robust pipelines for mainstream tools like ZBrush, Substance, and Blender. Combined with the ability to export FBX with LODs (levels of detail), digital human shaders, and a rich collection of motion assets, iClone stands out as an animation editor without a steep learning curve.
The launch of NVIDIA Omniverse in 2020 was a momentous occasion that attracted our attention. Omniverse represents the next-generation 3D virtual collaboration and real-time simulation platform that connects people and applications for broad-based collaboration. The Reallusion software suite combined with a massive library of high-quality character assets and motions can play a crucial role in this ecosystem, while Omniverse provides the path-traced rendering and AI technology that makes for a powerful synergy.
Where to start?
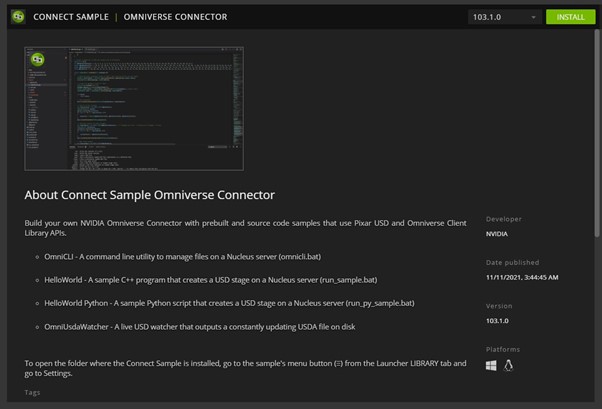
To build the connector, you start by referencing the Connect Sample code available for download on the NVIDIA launcher application.
On the Omniverse Youtube channel, there is a great beginner tutorial: Create an Omniverse USD App from the Connect Sample.
Scene and character animation
iClone and Character Creator’s 3D scene consists of nodes with basic transforms consisting of translation, rotation, and scale values. Characters, meshes, lights, and cameras are all attached under these nodes.
The bones of a character skeleton are also represented by these nodes. Nodes that only represent transforms are exported as USD XForm and nodes that represent the body and facial bones are exported as USD skeleton joints. Additional bones and skinning are added to accessory nodes that are attached to bones before converting to USD format.
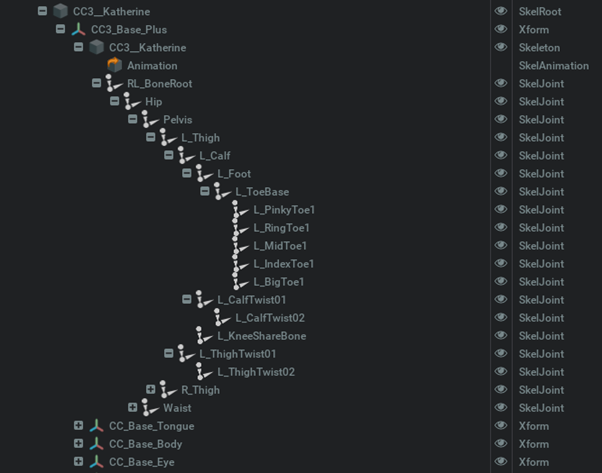
USD Xform scaling works in fundamentally different ways to iClone. In iClone, a node can be made to inherit or ignore the parent scale, whereas in Omniverse, the node scale is always inherited from its parent node. Under such conditions, bone node scale inheritance must be removed with its values reset before exporting to Omniverse, in order for the scale values to match.
Most of iClone’s facial expressions are composed of morph animations that are exported as USD blend-shapes. In contrast to FBX blend-shapes, which are stored in local-space positions, USD blend-shapes store positional offsets.
Because iClone also stores positional offsets (in combination with strength multipliers), it is completely compatible with Omniverse, enabling direct conversion to USD format. It should be noted that Omniverse requires a skeleton root for props with blend-shapes attached and additional processing may be required.
Material conversion
The following section contains MDL code excerpts for iClone’s USD exporter. For more information, see USD Shader Attributes.
Within the USD file, MDLs are specified using info:mdl:sourceAsset with info:mdl:sourceAsset:subIdentifier as the entry function. The new subIndentifier attribute was introduced by NVIDIA and PIXAR. input: is later called to feed the texture and material parameters. OmniPBR.mdl and OmniSurface(Base).mdl provided with Omniverse were used as starting points.
OmniPBR.mdl was chosen from the start because it works well in both NVIDIA RTX Real-time and Path-traced mode. On the other hand, OmniSurface and OmniHairare photo-realistic MDLs for RTX Path-traced mode. The existing PBR, Skin, Head, and SSS shaders were then rewritten from HLSL to MDL.

Flowing water in the swimming pool is another good example:
float2 inputs:texture_translate.timeSamples = {
                    0: (0, 0),
                    4000: (4, 8),
                }
Besides the previously mentioned built-in MDLs, there is also a base.mdl on GitHub with some reusable functions that can be deployed in a jiffy.
Light conversion
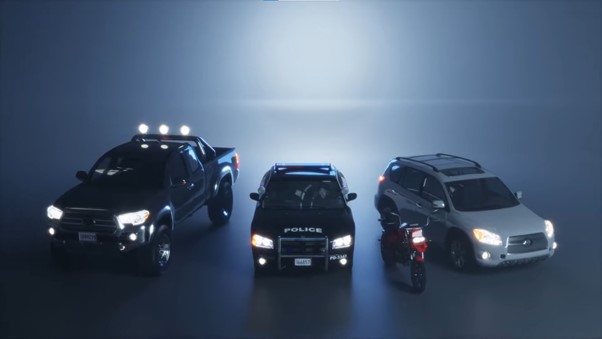
Point lights and spotlights use UsdLuxSphereLight with adjusted cone angles. Tube and rectangle lights use UsdLuxCylinderLight and UsdLuxRectLight, respectively. The Light IES profile file is also one of the shaping attributes. Light intensity in USD is similar to luminous intensity per unit surface area. The USD intensity of a spherical light with radius (r in meters) can be approximated with the following formula:
USD intensity = candela * 1000 * / (4PI r*r)
The following formula is used when radius is in centimeters:
USD intensity = candela * 1000 / (4PI(0.01r)*(0.01r))
Radius is a significant attribute in Omniverse Renderer. We recommend imposing a minimum radius of 2 cm. For more examples, see iClone Omniverse Connector Tutorial – Light Settings in iClone & Omniverse.
What’s next
A prototype of a one-way live sync connector is under development. Because iClone’s undo/redo system is similar to the memento pattern, you use a table for keeping track of live objects with universal IDs. This table updates after performing an undo and redo function.
To get an overview of how this solution works, check out our character creation and character animation solution or watch our 2021 GTC Fall session video recording.
For more information and to join the discussion, visit the NVIDIA Omniverse forum and NVIDIA Omniverse Discord Channel. For more resources on USD, see USD GITHUB and prebuilt Lib/Tool by NVIDIA.

